Need to send out packages or letters for your business? You will want to make sure your shipments look professional and can be sent back to you in the event of an error in the shipping process. That’s where return address labels come in.
Great news! Your computer probably comes with Microsoft Word, and creating and printing your own address labels in that app is easy. To save yourself the trouble of handwriting, here’s a step-by-step guide on how to make address labels in Word, which you can use for return labels or address labels for your next mailing.
Additionally, this guide includes how to use Mail Merge to make sheets of labels for different shipping addresses quickly. After reading this guide, you’ll be creating your own labels in no time.
Table of Contents
How to Make Address Labels in Word.
✉️ Find the Mailings Labels Feature:
Open Microsoft Word. Look for the ‘Mailings’ tab at the top and click on it. Then, click on ‘Labels’ in the Mailings ribbon to start the process.
🎯 Select Your Label Options:
In the ‘Labels’ dialog box, there’s a button called ‘Options.’ Click that button.
Here’s where you pick the type of label sheet you have. Each type has a product number. Find yours and select it. Click the ‘OK’ button to confirm.
⌨️ Enter and Format Your Return Address:
Now, type your return address in the box. You can make your address look nice by changing the font or making it bigger or smaller. Feel free to experiment with various styles and make the label unique to you.
🧪 Test Before You Print:
Always print one label first to make sure it looks good. This saves you from wasting a whole sheet if something’s not right.
🖨️ Creating a Whole Sheet:
If your test label is perfect, you can now make a new document to create a sheet of the same label. Just click ‘New Document’ and Word will set up a page for you.
If, for some reason, you are unable to follow our guide on how to make address labels in Word, there may be something wrong with your installation of Word, or you may not be using the most up-to-date edition. In that case, consult the Microsoft Office Help Center for more information on your product.
Nothing could be scarier than printing labels manually! That’s where we come in. If you want to scale your e-commerce business, upgrade to a Rollo Printer and our Rollo Ship platform to take your business to the next level.
Check out Rollo’s selection of wireless and wired thermal printers
to streamline your next mailing!

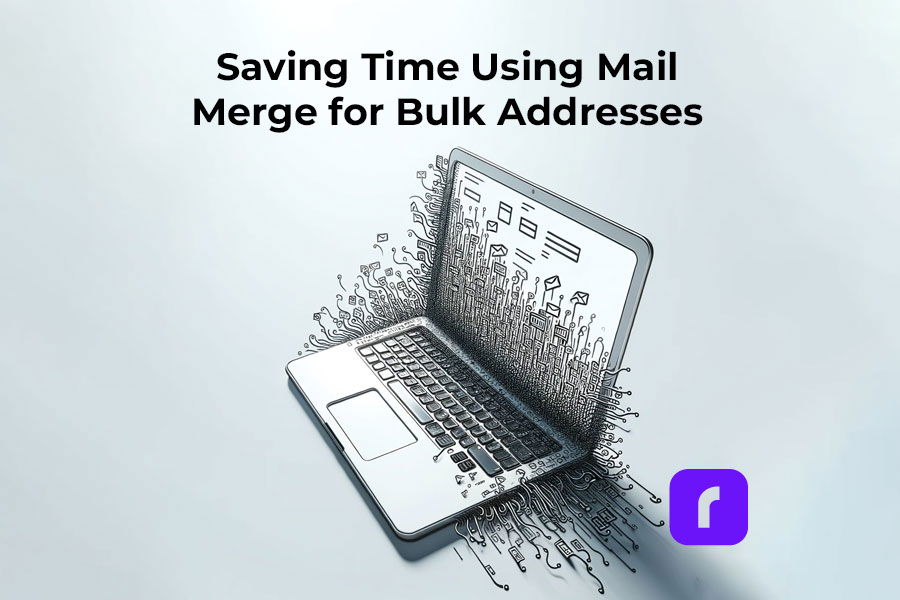
Using Mail Merge for Bulk Addresses:
💥 Start Mail Merge:
For lots of labels with different addresses, go to ‘Start Mail Merge’ in the ‘Mailings’ tab. Choose ‘Labels,’ and Word will guide you through choosing your label sheet type again.
🫂 Select Recipients for Your Labels:
Click on ‘Select Recipients’ to add addresses. You can use an existing list or type in new information. This list is where Word will get addresses to print your labels.
🔬 Arrange Your Labels:
Now, click ‘Insert Merge Field’ to add things like first name, last name, and address to your labels. Arrange them how you want them to look on the label.
👀 Finish and Merge:
After arranging, click ‘Update Labels.’ Then, click ‘Finish & Merge’ to create a new document with all your different labels.
🖨️ Save and Print Your Labels:
Save this document. Now you can print all your labels at once. Just load your label sheets and press ‘Print.’
There you have it. You’ve just learned how to make address labels in Word. With these easy steps and the powerful Mail Merge tool, you can handle any size mailing project with ease. Be sure to bookmark this guide for your next mail-out and remember that you can save time by printing postage at home, too!
If you got all the way to the end of this article and still don’t know how to make address labels in Word, or would rather have Microsoft do the work for you, here is a Pinterest post from Microsoft that links directly to a template you can download and customize to your needs.
Follow Rollo on:
Frequently Asked Questions about Word and Labels
📌 Q: Does Word have an address label template?
💭 A: Yes. You can access it from the “Mailings” ribbon when opening a new document in recent editions of Microsoft Word. Please see above for more information on how to make address labels in Word.
📌 Q: Is there an app to make an address label?
💭 A: Rollo Ship works with Rollo’s wireless and wired thermal printers to track all your e-commerce shipments from major marketplaces and e-commerce platforms, print your shipping labels, and keep track of packages until they reach their final destination.
📌 Q: What paper should I use for address labels?
💭 A: We recommend using an adhesive-backed label that is durable and waterproof to avoid smudging during the shipping process, but if you really want to step up your game – look into a thermal printer from Rollo.


